Renovating your house means welcoming a new and exciting milestone in life. By re-designing your home, you’ll get a fresh start and an inspiring change to look forward to every single day. Unfortunately, home renovation also means dealing with a whole lot of mess. Debris is everywhere, dust can be found on all corners and surfaces of the house, producing air pollutants. Simply put, post home renovation can take up a lot of your time, money and energy, not to mention the stress that comes with post renovation cleaning. While cleaning after a major renovation can be timely and overwhelming, doing so is essential for achieving a clean, healthy and well-looking home. Contacting a reliable post renovation cleaning company can make a huge difference.
Prepare your mask, gloves, cleaning tools, disinfection products and garbage bags. To guide you along with your post renovation cleaning project, here are 5 useful tips you might want to follow.
1. Clean your windows
Before you start with your post renovation cleaning plan, make sure to check on your windows first. Unfortunately, people tend to overlook their windows, leaving them closed and uncleaned most of the time. While windows don’t seem to need much of your attention, spending an ample amount of time to clean your windows is still necessary. Ensuring your windows are dust-free not only brings a pleasant look to your place but also allows clean air to circulate around the house.
Unlike standard window cleaning, post renovation cleaning for your windows often includes removing adhesive, paint and construction dust. Thus, it is essential to use specialised products and methods to prevent causing any damage to the glasses and frames. The use of improper cleaning tools may end up giving your windows scratches instead of a squeaky clean look.
2. Vacuum the floor, walls, curtains and furniture
If there’s anything that can ruin the look and feel of a newly-renovated home, it would probably be the dust that lingers on every corner of your house. From the floor, walls, curtains and even on the sofa, construction dust can embed itself everywhere. To avoid such annoyance, vacuuming as much space as possible can be of great help. However, you want to avoid vacuuming in different directions. Start your post renovation cleaning on the ceiling and work your way down to the floor. This can help prevent the dust from shifting around kicking up into the air.
Make sure to vacuum every part of the house, especially the corners you don’t clean very often. Take time to vacuum your light fixtures, your ceiling fan blades and all sides of your furniture as well.
3. Wipe all the dirt
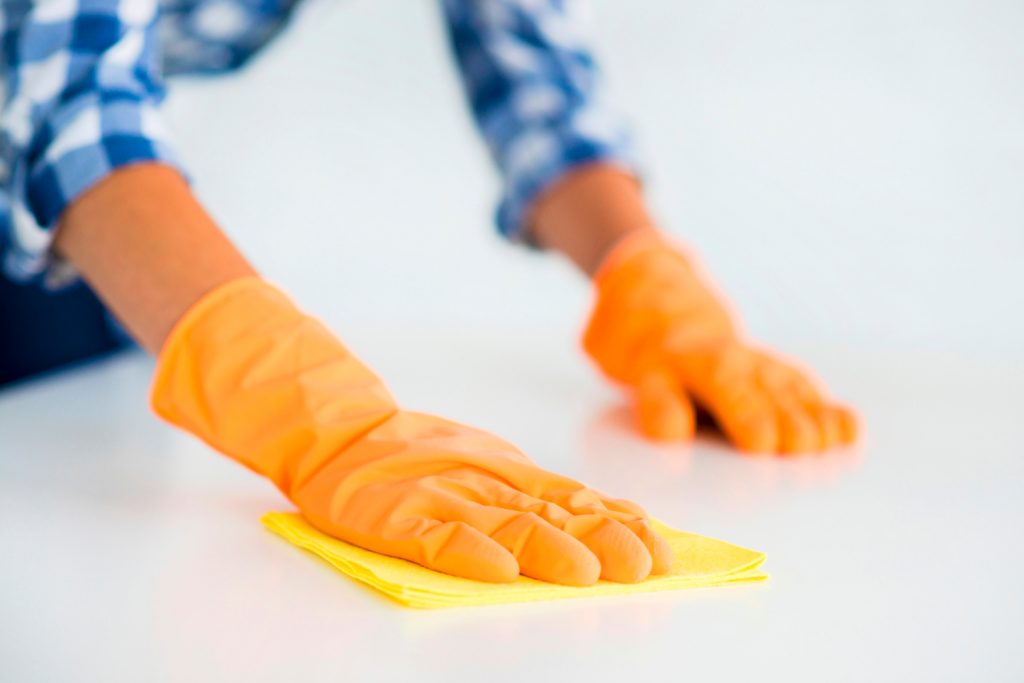
After vacuuming, the next thing on your post renovation cleaning list is to wipe every space in your house. The best way to do it is to start dry-dusting your walls all the way down to the floor. Among the post renovation cleaning methods, dry cleaning is by far the safest option. You can also use damp cloth and soap to wipe off the remaining dust. Do not forget to wipe off cabinets and shelves as well as furniture such as chairs and tables.
Before using any other cleaning products for wiping, make sure to check the type of paint you currently have on your walls as some products may affect the color or texture of the paint. When in doubt, it is best to hire a reliable company that offers excellent post renovation cleaning services.
4. Clean the air vents and air filters
Once you have vacuumed and wiped all the parts of the house, the next step is to clean the air vents and air filters. Most often, the air that circulates inside your home after a major renovation contains dust particles. If inhaled for a long time, it can cause serious respiratory problems. Therefore, ensuring that air vents and filters are clean thoroughly should be prioritised in post renovation cleaning.
You can remove your air vents and clean them with warm water and soap. After cleaning the vents, you should also check your filter and see if it needs to be changed. Replacing air filters provide a good amount of quality oxygen inside your home.
